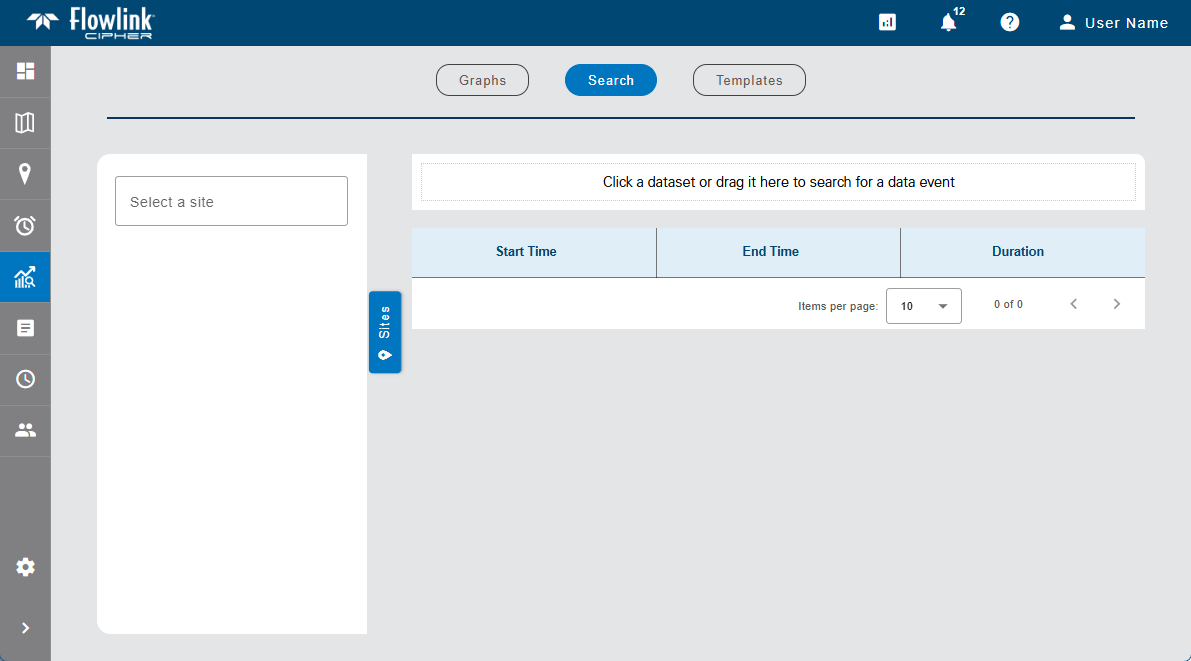
The Search screen of the Analysis page is used to search for specific criteria in the data ingested at a site. Data events can then be created in the dataset for data returned from the search.
1. Expand the Sites panel by clicking the Sites tab.

This panel contains the fields used to select the data to be searched. The Select Site field is populated with all sites in the instance.
2. Click in the Select Site field to expand the field.
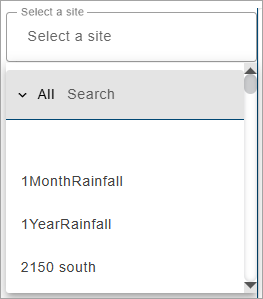
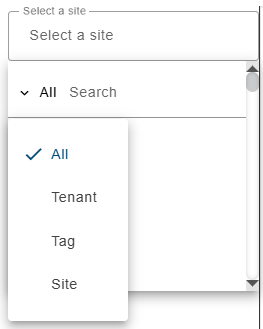
The list of sites can be filtered by specifying textual search criteria in the Search field at the top of the list. Only sites that match the text specified will be included in the list. A drop-down list beside the Search field can be used to filter the list even further by specifying the property in which to search for the matching text. Also, when a property is selected from the drop-down list, clicking in the Search field will display a drop-down list of possible values based on the selected property, allowing a value to be selected instead of entering it manually. When an option is selected, only sites with text in the selected property (tenant, tag, etc.) will be available.
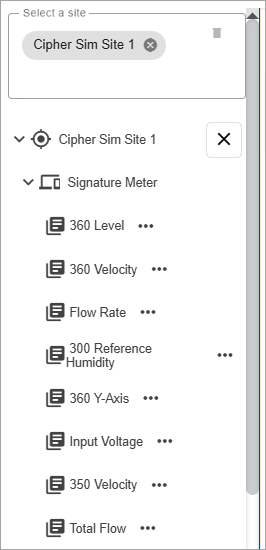
3. Select a site from the list.
All ingested datasets and computed datasets available for the selected site will be displayed in a drop-down list. Additional sites can be selected to display more datasets if needed.
4. [Optional] Select additional sites as needed.
5. Expand the datasets drop-down lists to view the available datasets.
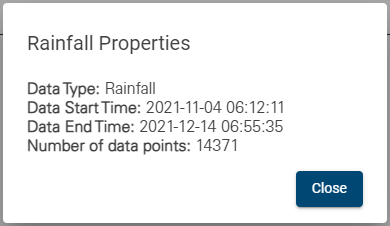
The Properties button (...) beside each dataset in the list displays a dialog box containing information about the dataset.
6. Click the desired dataset or drag it to the top of the page.
Additional controls will displayed in the dataset space. These controls are used to define the data conditions the search will look for in the specified dataset. The name of the selected dataset will be displayed above the controls.
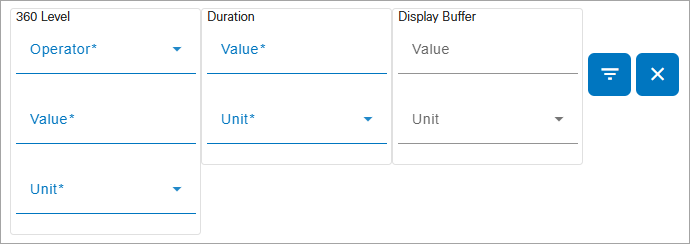
7. Select a conditional operator by clicking the drop-down arrow inside the Operator field.
8. Type a value in the Value field.
9. Select a unit of measure from the Unit drop-down list.
The Duration controls can be used to search for events that lasted a specific amount of time. This can help eliminate the return of events that are simply noise spikes in the measured data. For Rainfall data, the Duration option is renamed Within and will detect an event when the rain accumulation amount exceeded the limit within the specified time period.
10. [Optional] Specify a Value and Unit of measure for the Duration controls.
The Display Buffer controls add a specified amount of time to the start and end of the preview of an event to ensure the full event is visible in the preview. If this option is not specified a default buffer is applied.
11. Optional] Specify a Value and Unit of measure for the Display Buffer controls.
12. Click the Search button  .
.
Any events that meet the search criteria will be displayed in the table below the search field. If no events are founding matching the specified criteria, a message will be displayed.
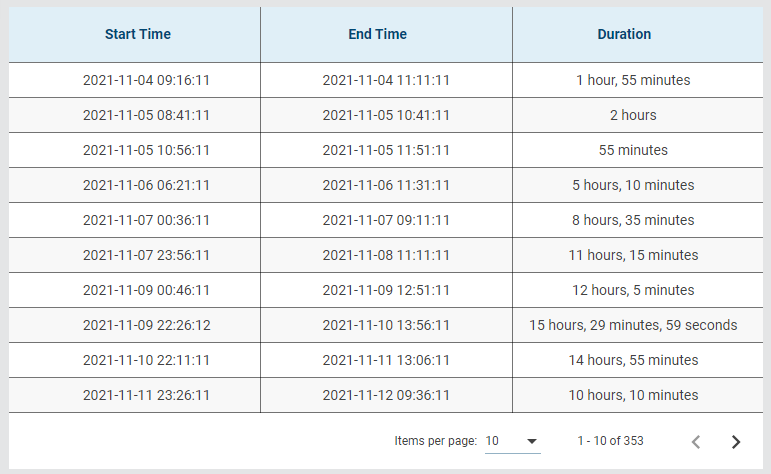
The results list displays a maximum of 10 items by default. This limit can be changed using the Items per page control below the list. Navigation options also appear below the list when the number of items exceeds the set limit and more pages are needed. The single arrow buttons can be used to view the Previous or Next page in the list; the double arrow buttons can be used to view the First or Last page in the list. The controls also report the total number of items in the complete list and the number of items in the current page of the list.
13. Select an option from the Items per page drop-down list.
14. Click the Next or Previous arrow to view a different page of search results.
Clicking an item in the search results will open a dialog box with a small preview graph of the data for that particular event.
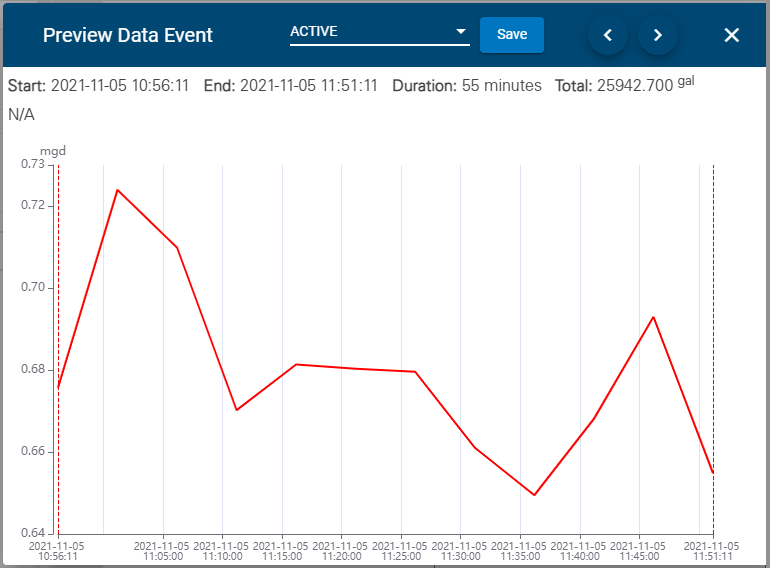
The preview includes the Start and End times during which the data was at the specified conditions and the Duration of that period. The preview can zoomed in or out using the middle mouse wheel. As the cursor is moved over the data in the preview, a tooltip will be displayed with details of the data at the current location.
The title bar of the dialog box provides the following controls:
• Status field: Assign a status to the event. The options include Active, Acknowledged and Resolved. Select a status from the drop-down list and click Save to assign the status.
• Previous/Next buttons: Display a different event in the preview by clicking the Previous or Next arrow buttons to display the previous or next item in the search results.
• Exit: Close the dialog box.
The Remove Conditions  button in the search controls can be used to remove the current search conditions and start a new search.