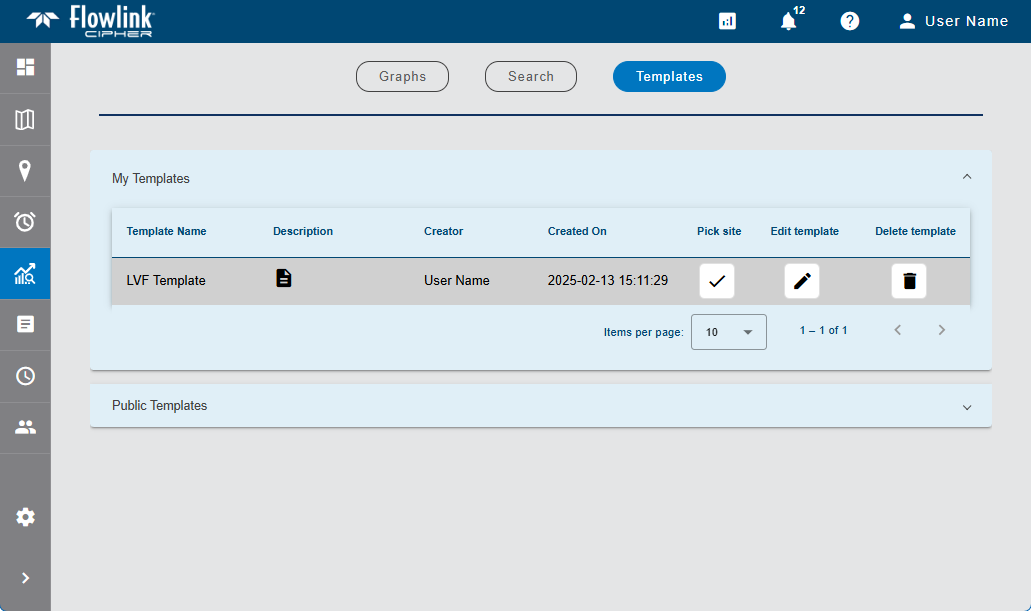
The Templates screen of the Analysis page provides templates that can be used to create new graphs. The list includes all templates created by the current user as well as any templates that have been created and made public by other users.
Controls are provided to control the number of templates displayed in the list. If the number of available templates exceeds the number of templates selected for display, additional pages are added in the list. These pages can be viewed using the single and double arrow buttons to view the Previous, Next, First and Last pages in the list.
Clicking the column headings in the list will sort the templates in ascending or descending order according to the values of the selected column. The arrow beside the column heading indicates the current sort order. Clicking the heading a second time will reverse the sort order.
The list can also be filtered according to each value by entering filter criteria in the Filter field at the top of each column. When filters have been applied, only the templates matching the specified criteria will be displayed in the list.
Templates are created in the Configure Graph page when manually creating a new graph. See Configure Graph for information on this page. They contain all graph property settings defined on the graph creation page, such as the graph type; line shape, width and color; units of measure, dataset names and data type. When a graph is created from a template, all properties for the new graph will be defined according to the settings in the template.
Create Graph from Template
To create a graph from a template:
1. Determine the relevant template to use.
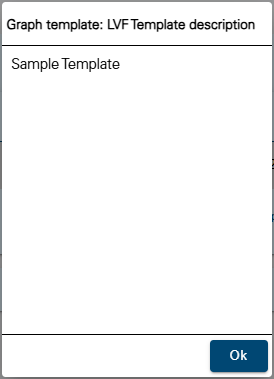
A Show description button  is provided for each template to view the description that was entered at the time the template was created. This is helpful in identifying the appropriate template for the task at hand. Clicking the button opens a dialog box populated with the description.
2. Click the Pick site button ( ) for the relevant template in the list.
A dialog box is displayed that lists the properties settings of the template. This dialog box is used to select the site and dataset(s) to use as the data source for the new graph. The Select Site field is populated with all sites available in the instance.
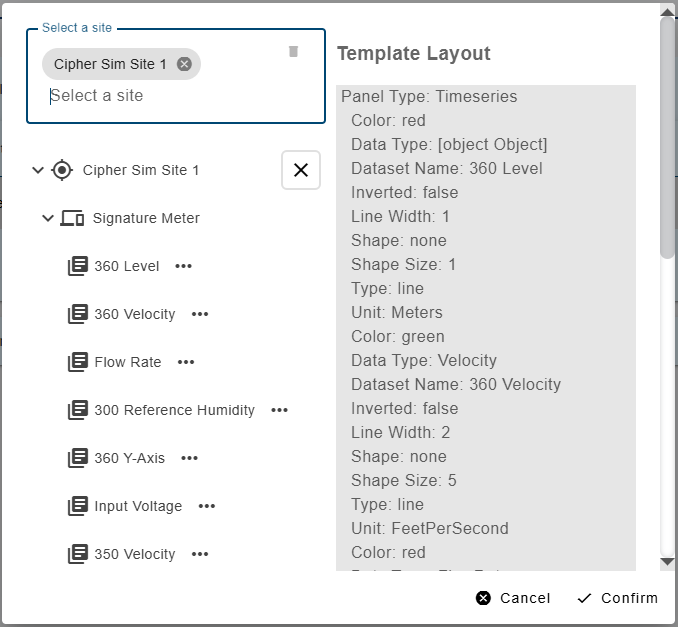
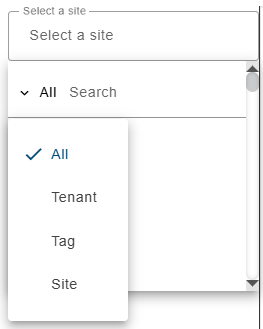
3. Click the Select Site field to expand the list of available sites.
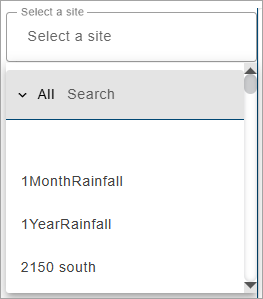
The list of sites can be filtered by specifying textual search criteria in the Search field at the top of the list. Only sites that match the text specified will be included in the list. A drop-down list beside the Search field can be used to filter the list even further by specifying the property in which to search for the matching text. Also, when a property is selected from the drop-down list, clicking in the Search field will display a drop-down list of possible values based on the selected property, allowing a value to be selected instead of entering it manually. When an option is selected, only sites with text in the selected property (tenant, tag, etc.) will be available.
4. Select a site from the list.
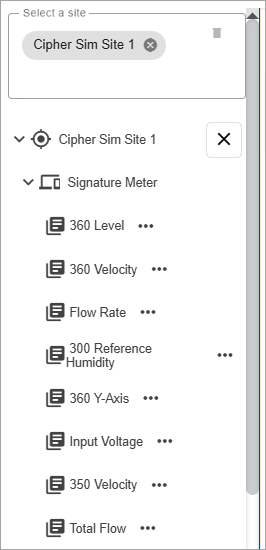
All ingested datasets and computed datasets available for the selected site will be displayed in a drop-down list. Additional sites can be selected to display more datasets if needed.
5. [Optional] Select additional sites as needed.
6. Expand the datasets drop-down lists to view the available datasets.
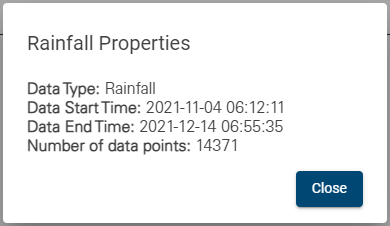
The Properties button (...) beside each dataset in the list displays a dialog box containing information about the dataset.
7. Select a dataset.
8. Click Save.
The Configure Graph page is displayed, populated with datasets from the selected site that match the dataset names and/or dataset types saved in the template. See Configure Graph for information on this page.
9. Complete any necessary fields.
10. Click Save.
The Save Graph dialog box is displayed, which is used to specify an identifier for the graph.
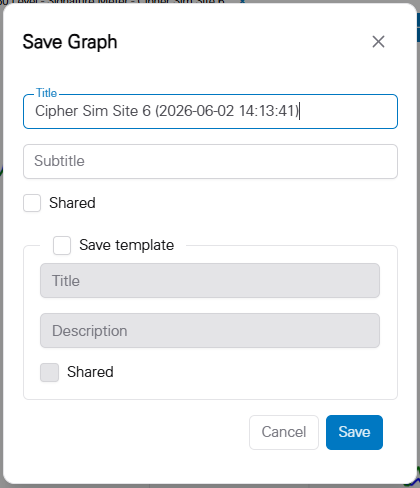
The Title of the graph must be unique within the Flowlink Cipher database. By default, the Title will be the name of the first site selected for the graph. To reduce the number of steps a user must make to quickly create a new graph, and to ensure the Title of the graph will be unique, if the default Title already exists in the database, then an extension will be automatically added with a timestamp pattern YYYYMMDDhhmmss.
The Subtitle field is optional and is blank by default, but it is recommended that it be populated with something that indicates the purpose of the graph and the data it reports.
1. Type a name for the graph in the Title field.
2. Type an informative label in the Subtitle field.
The Shared option can be enabled to allow other users to view the graph when Show Public Graphs is enabled on the Analysis page. Users will be able to view the graph, but will not be able to edit it.
3. Enable Shared if the graph should be visible to other users.
The Save template option can be enabled to save the graph settings as a template for future graph creation. This will add an entry to the Templates view of the Analysis page.
4. Enable Save template.
The template fields will be enabled to specify a Title and Description for the template. The template can also be made available for other users by enabling the Shared option.
5. Type a Title and Description in the appropriate fields.
6. Click Save to complete the creation of the graph.
The new graph is created.
Edit Templates
Templates can also be edited in this screen. To edit a template:
1. Click the Edit Template button  for the relevant template to open the template settings dialog box.
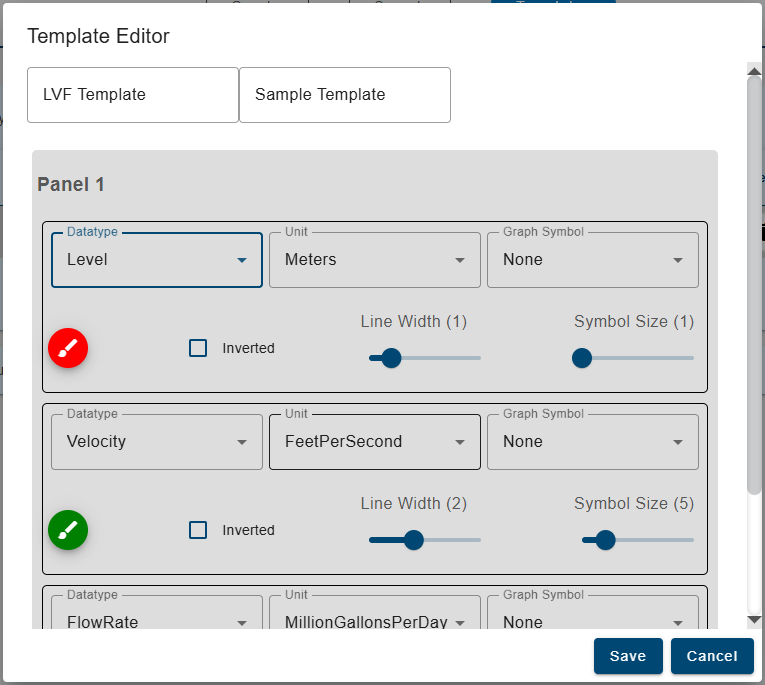
This dialog box provides fields to change the Title and Description of the template. It also provides a section of properties for each panel and dataset in the template.
2. Adjust the properties as needed.
3. Click Save to exit the dialog box and save the changes to the template.
Delete Templates
The Delete button  in a template row can be used to delete the template. Templates can only be deleted by the user that created the template.
To delete a template:
1. Click the Delete button.
A confirmation message will be displayed.
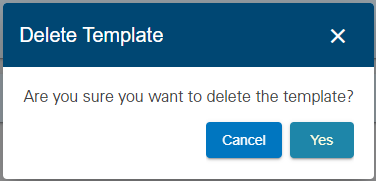
2. Click Yes to delete the template.
A message will be displayed in the bottom-right corner of the page confirming that the template was deleted.